Users can configure quadrant panes to display custom icons and colors depending on user-defined criteria for routes and stops. The following UI elements are customizable:
• Line color for a route on map
• Icon for a stop on map
• Column ‘CustomIcon’ on Route tree
• Column ‘CustomIcon’ on Unassign Stops tree
• Column ‘CustomIcon’ on route/stop levels of Route Detail tree
To configure these settings:
1 Select App Setup > Icon Customization > Mappings.
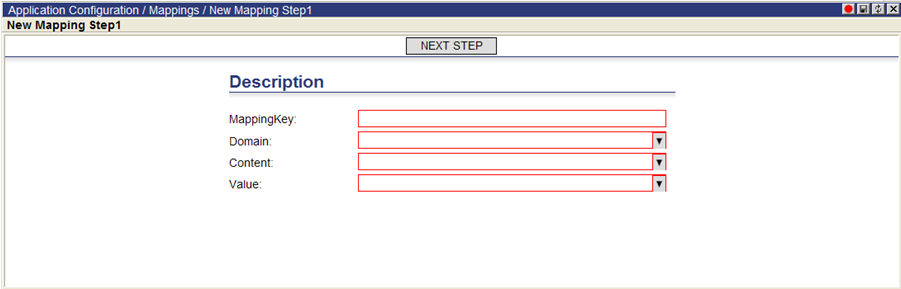
2 Right-click in the list and select New. The New Mapping Step page appears.
3 Enter the MappingKey and then specify the Domain and Content using the drop-down menus. When selecting Tree for the domain, choose a node from the drop-down menu that appears.
4 Click the Next Step button. The New Mapping Step 2 page appears.
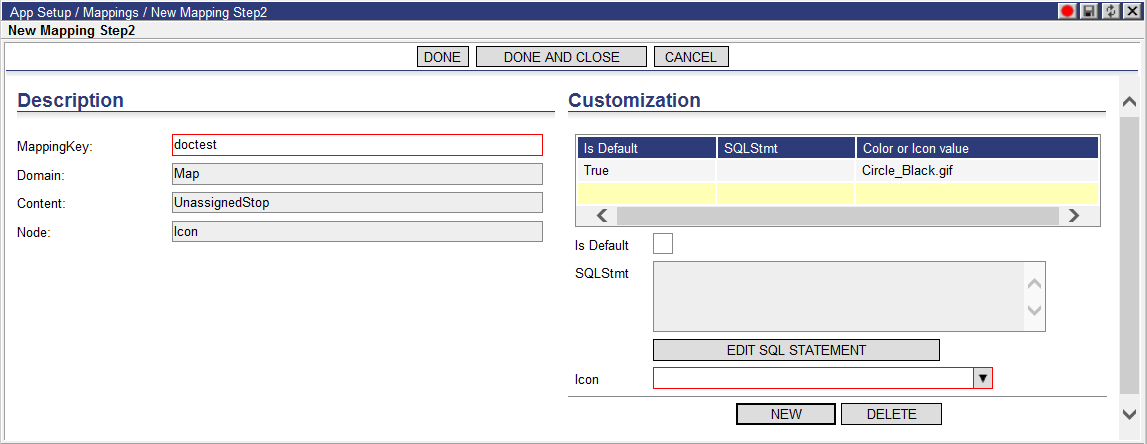
5 Specify details in the Customization section. Select the Is Default checkbox to make the selected icon or color the default.
6 Select a custom icon image or color from the drop-down menu. Click New to add another icon or color to the table.
Once configuration is saved to database, add the new column ‘CustomIcon’ to the associated trees in order to see the icons.
Custom icons need to be placed in the folder /lnos fw ui/AppIcon/CustomIcons. A set of basic shape icons (diamond, circle, square, star, pentagon, triangle) in various colors is included in the package. Users can add their own version of custom icons in this same folder for use in the application.
Items with custom icons can be manipulated by using the following right-click options on the Dashboard:
• Show by Custom Icon: Filters and displays content based on a specified custom icon profile.
• Hide by Custom Icon: Disables the Show by Custom Icon functionality.