
Schedule templates lets users create a series of templates that can serve as the basis for creating new Schedules. Users can set up templates representing commonly used Schedules, so users can create Schedules more quickly and accurately.
To access a Schedule template:
1 From the main menu, select: Data > Templates > Schedule.
The list of Schedule templates appears:
2 Right-click on a selected Schedule template record and select one of the management options: New, Edit, or Delete. It is also possible to double-click a specific Schedule template record to directly edit that record.
When double-clicked, the selected Schedule Template page appears:
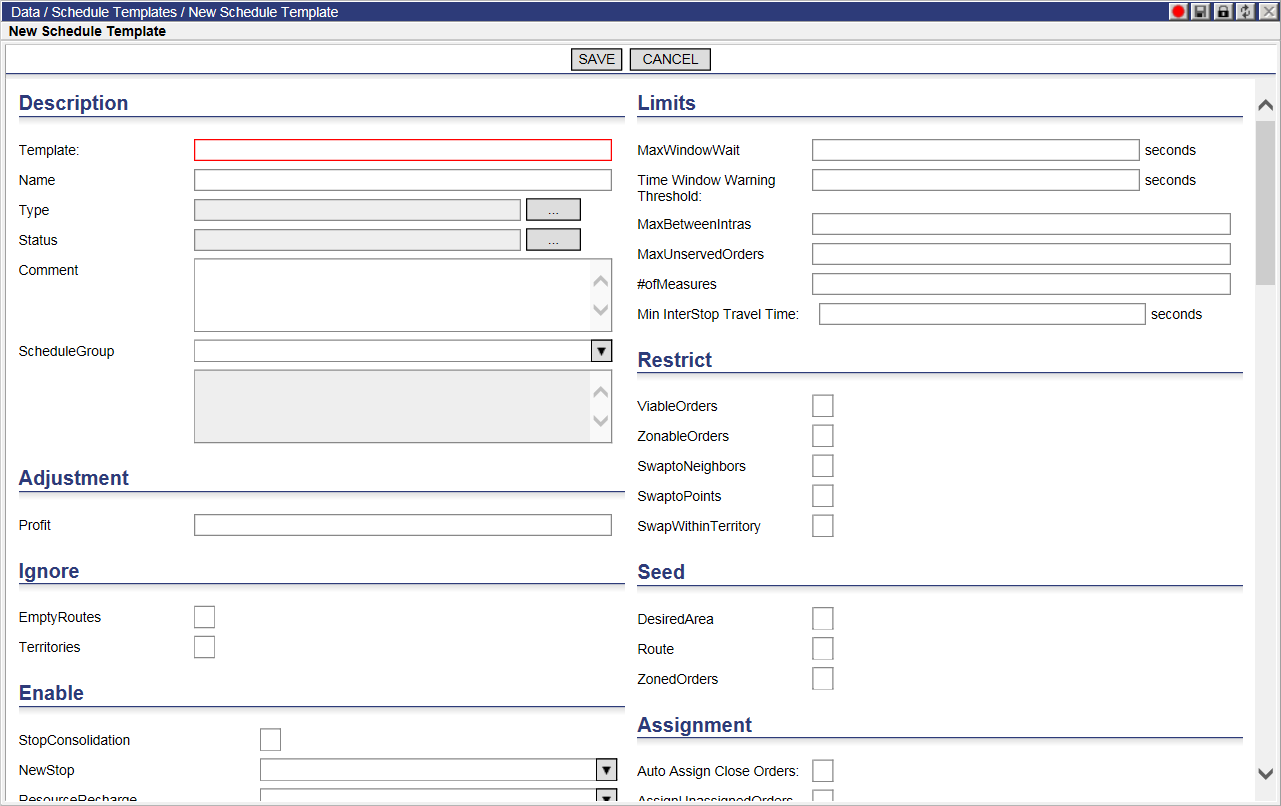
3 Enter data in the appropriate fields.
4 When finished entering the data, click Save, and then click Close
This template can now be used as the basis for adding new Schedules.
Users can apply settings from a schedule template to all created schedules or a particular subset by using the right-click menu in the Schedule Templates list page.
1 Right-click on a schedule template in the list and select Reset Schedule(s) to apply the settings to one or more schedules.
2 Click OK in the confirmation dialog. The Select Schedule dialog box appears.
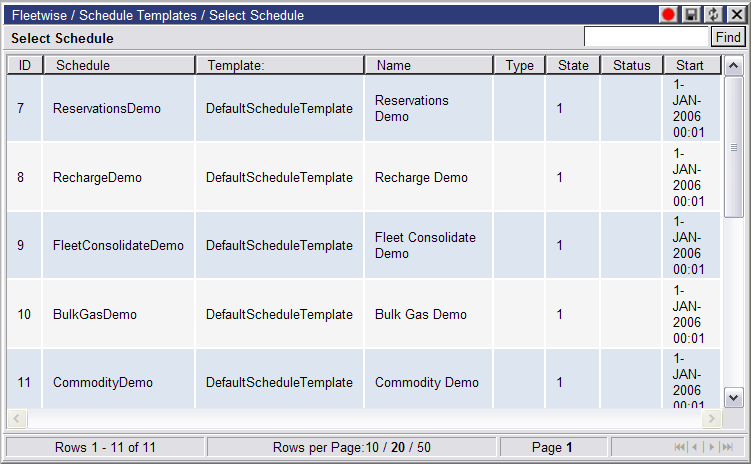
3 Select one or more schedules from the list and right-click to display the right-click menu. Click Select to apply the template settings.
4 To apply the template settings to all schedules in the list, select Reset All Schedules and click OK in the confirmation dialog to complete.
![]()