To access the order list:
1 From the main menu, select Data > Orders.
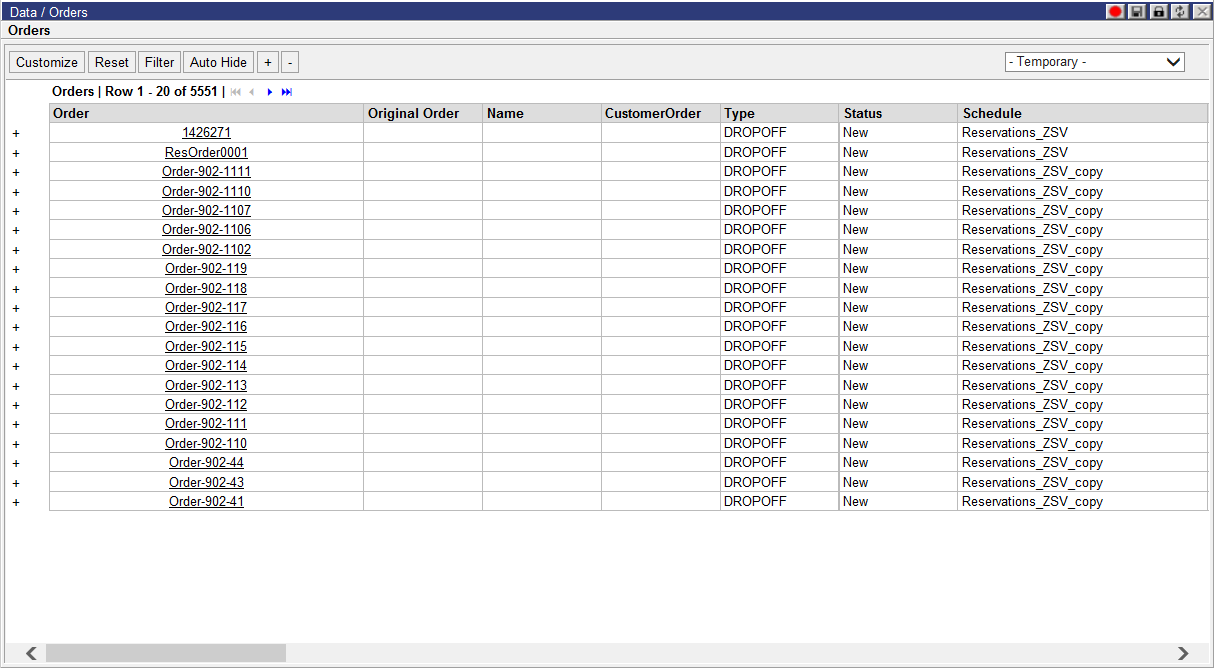
The list of orders appears:
2 Select a schedule from the drop-down menu in the top right-hand corner of the page to display all orders assigned to that schedule.
3 Use the plus signs to expand the tree view of the Orders list page to view associated stops and order lines.
4 Right-click on a selected order record and select one of the management options:
• Edit: Displays the Edit Order page for one or more selected orders
• Clone: Copies the selected order
• Split: Displays the Split Order page
• Itinerary (may or may not be present)
• Delete
• Show on Dashboard: When selected for an order, the system will navigate the user to the dashboard with the order’s schedule selected and highlight the associated stop/route row in the Unassigned Stops or Routes quadrants
• Reassign Schedule: Allows the user to move the order to another schedule
• Edit Time Windows: Displays the Re-date Orders window, allowing the user to modify the time windows of the order
• New Order: Begins the order creation process
• List View Mode: Changes the display from tree view to list view
• Import CSV Data: Displays the Import Orders window, allowing users to import data via CSV file
• Export CSV Template: Exports displayed order information to a CSV file
